前の6件 | -
Surfaces, Revisited [Column_Photo Archives]
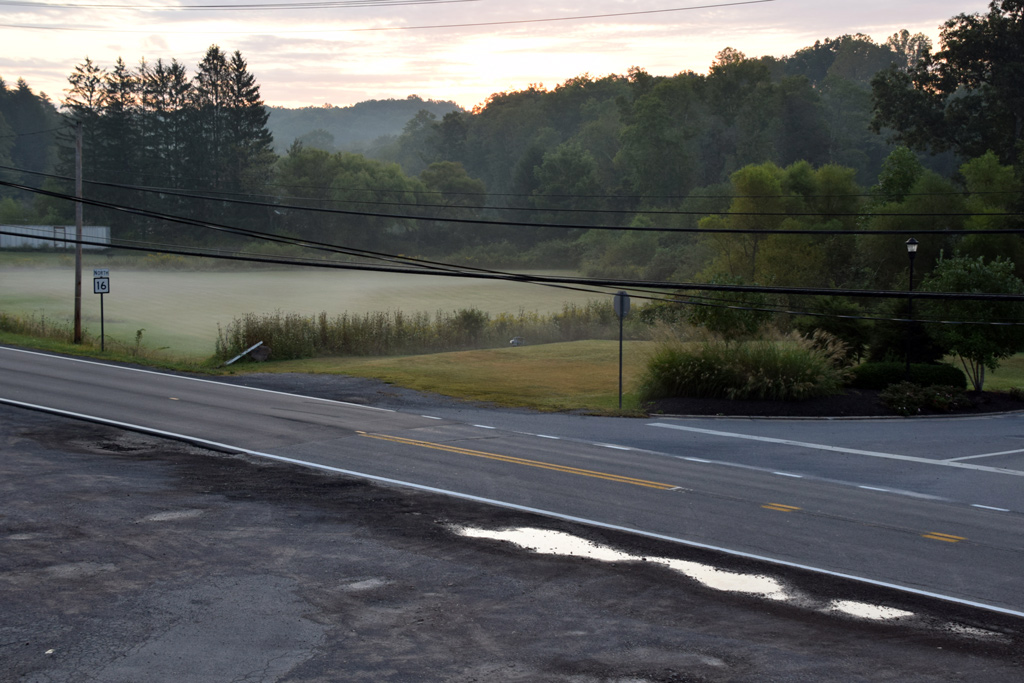
I have introduced a series of my dad’s photos taken in the United States in the early 70s as the “Surfaces” posts. Up next are the series of my photos taken during our recent trips to the United States. Our trips more or less trace the route my dad mapped half a century ago. Accordingly, I have decided to call this series of posts “Surfaces, Revisited”.
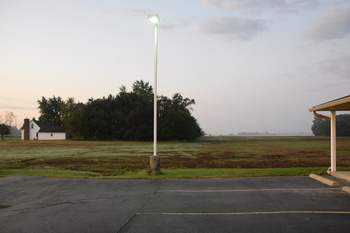 : Sep. 6, 2019. Bryan, OH
 : Sep. 6, 2019. Bryan, OH
2024-04-26 09:00
コメント(0)
Making Cisco Townsite, part 5 [Works_Cisco Townsite]
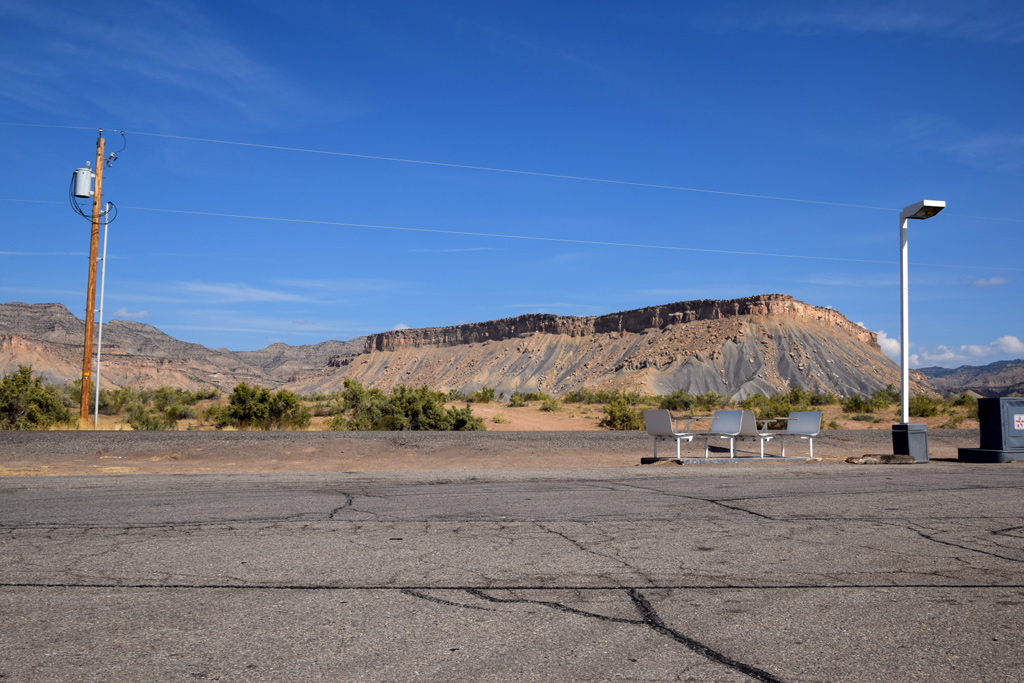
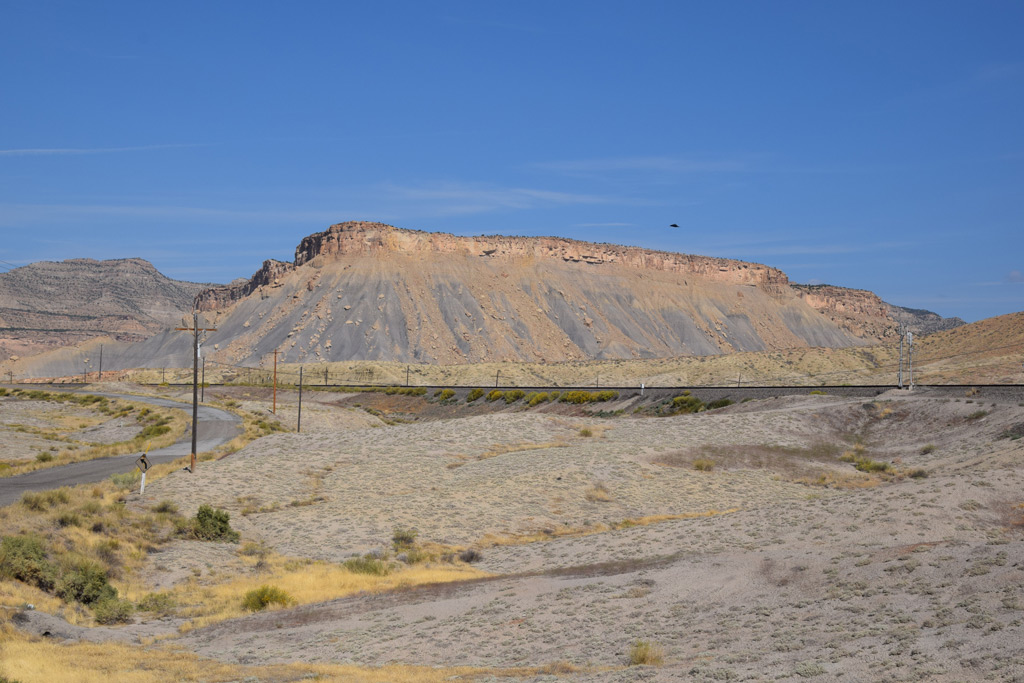 : Sep. 24, 2017. Thompson Springs, UT
Each quarter section of the diorama will represent the four seasons. However, the surface of the ground is stable; the four seasons will be represented by the plants/grasses. I tried to make the Cisco ground by wash-painting method familiar to us as the weathering method.
As Cisco doesn’t have a lookout, I referred to the photos I took at Thompson Hill. I also put the piece of cinder block picked up at Cisco beside the diorama as a reference.
The first wash of thinned paint is of Liquitex Red Oxide, the second is of Raw Siena, and the third is of Raw Umber. This choice of colors is the same as the previous diorama I made, but I did it thinner to match the prototype. Finally, I added a wash of Ivory Black as a shadow.
Apart from the terrain, highway pavement is washed three times with thinned Unbleached Titanium and a little Ivory Black mixture.
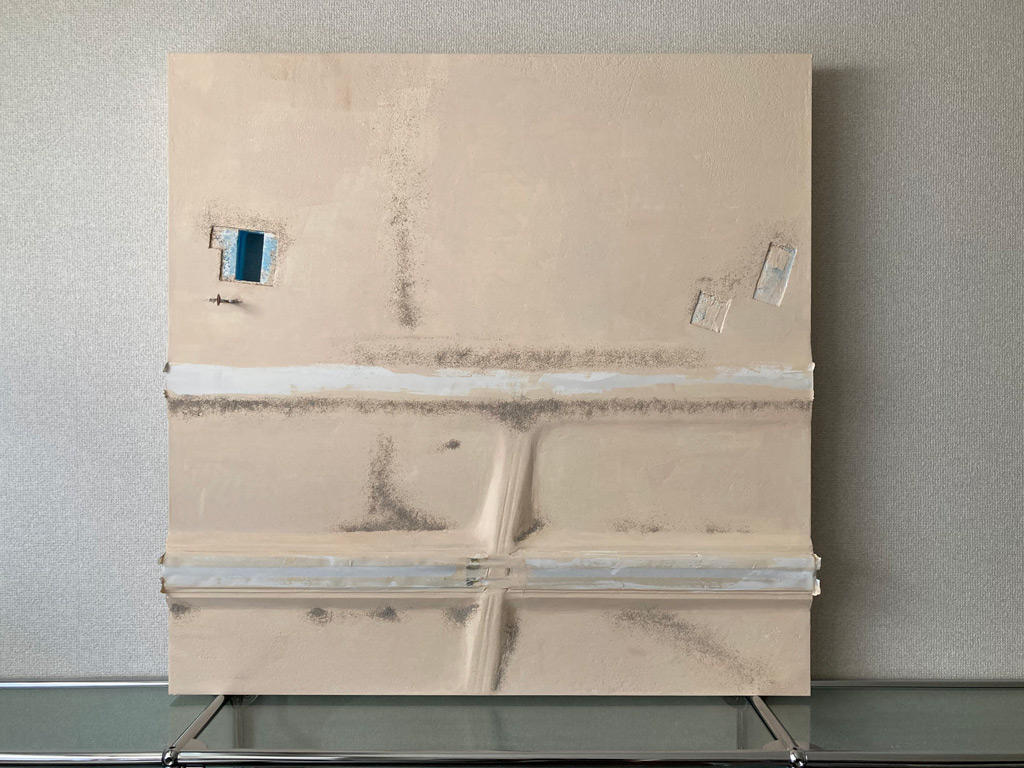
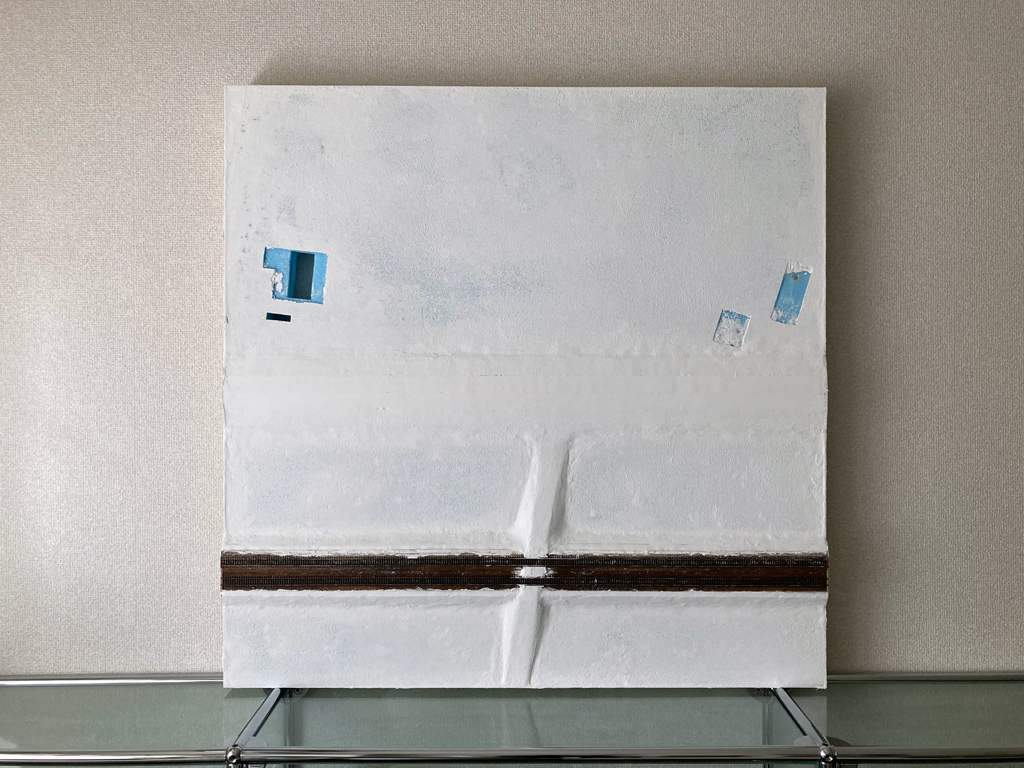
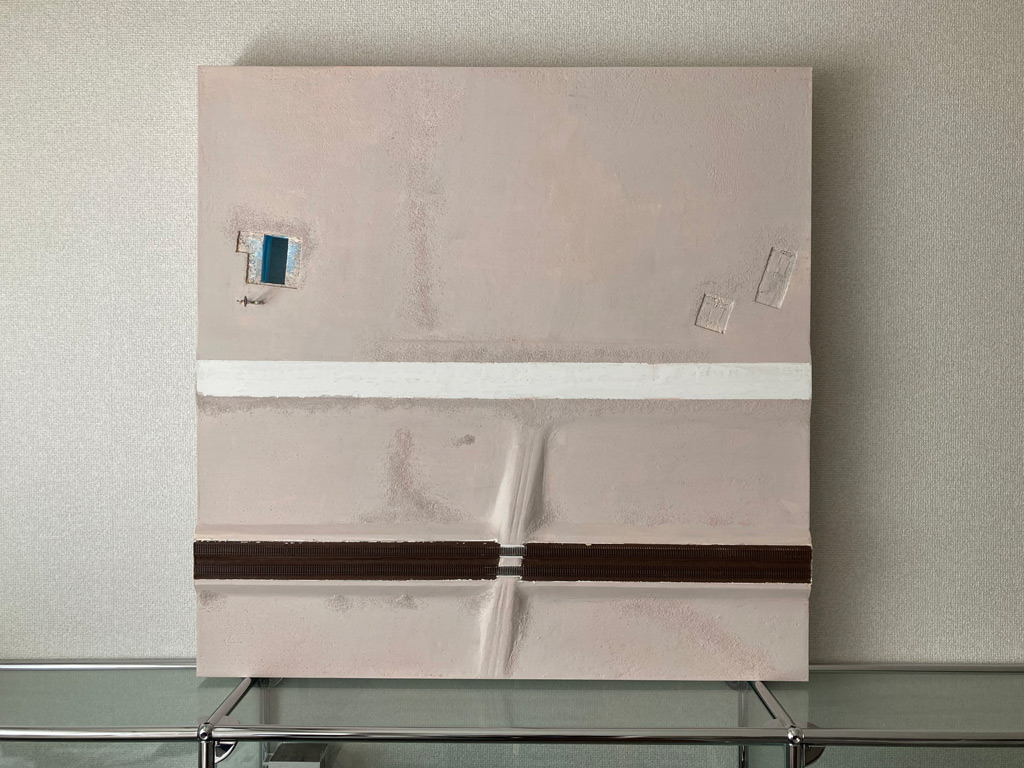 : Red Oxide wash-painted
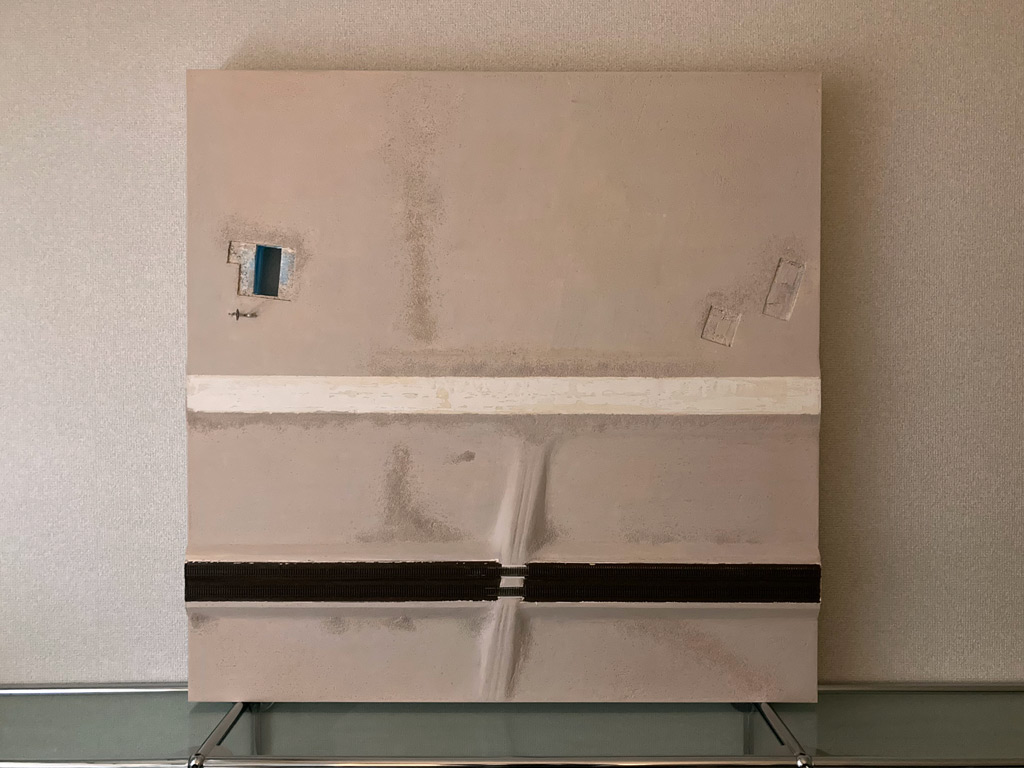 : Raw Siena wash-painted
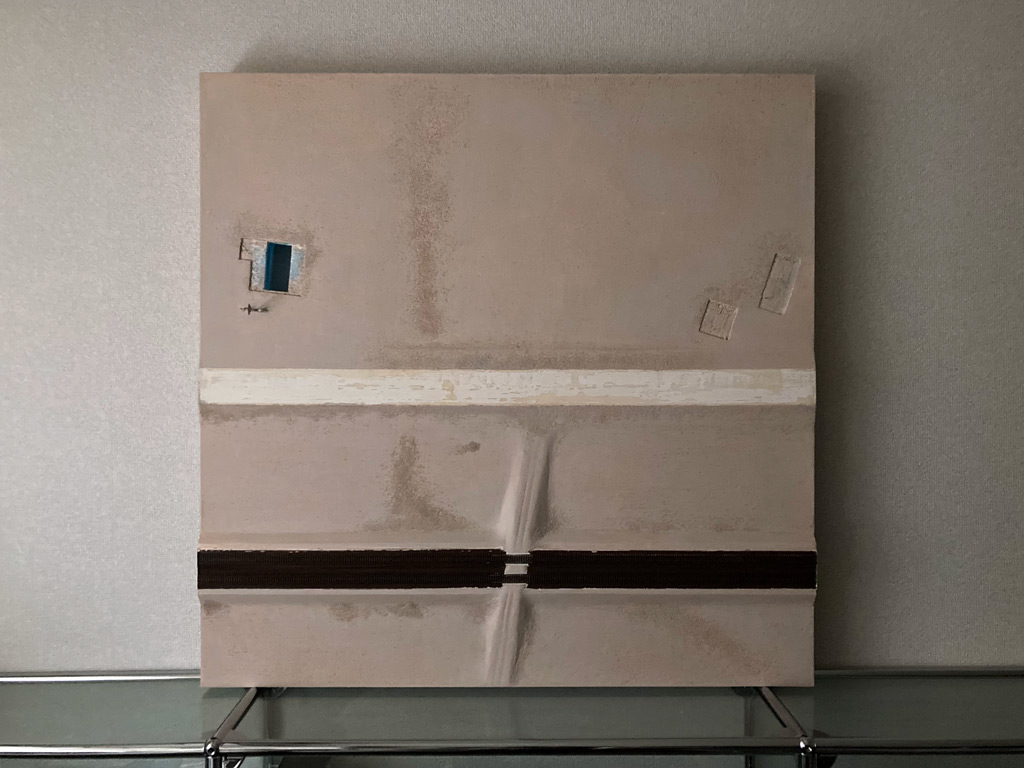 : Raw Umber wash-painted
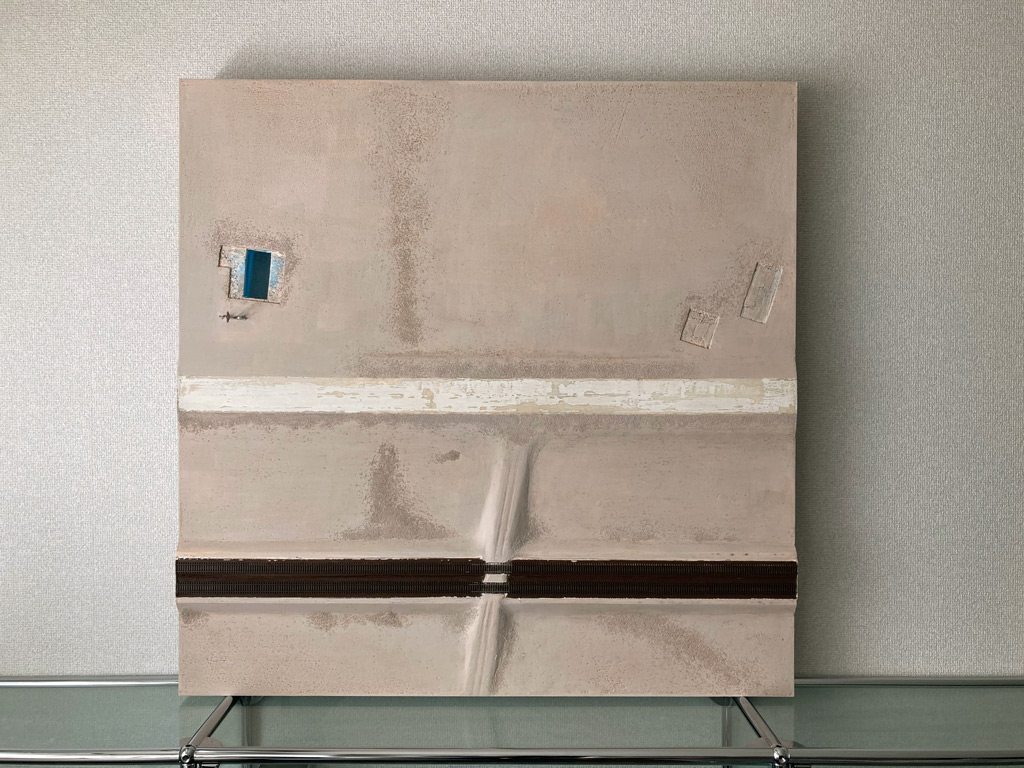 : Ivory Black wash-painted
From 1961 to 1991, D&RGW used slag extracted from the American Smelting & Refining Co. (ASRCO) smelter at Leadville, CO, and the United States Smelting Refining & Mining Co. smelter at Midvale, UT for the ballast. This was a dark purplish-black rock. So, I used the mixture of #24-331 Fine Ballast produced by Woodland Scenics (=Kato Fine Ballast) and #434 R-Stone produced by Morin for the ballast.
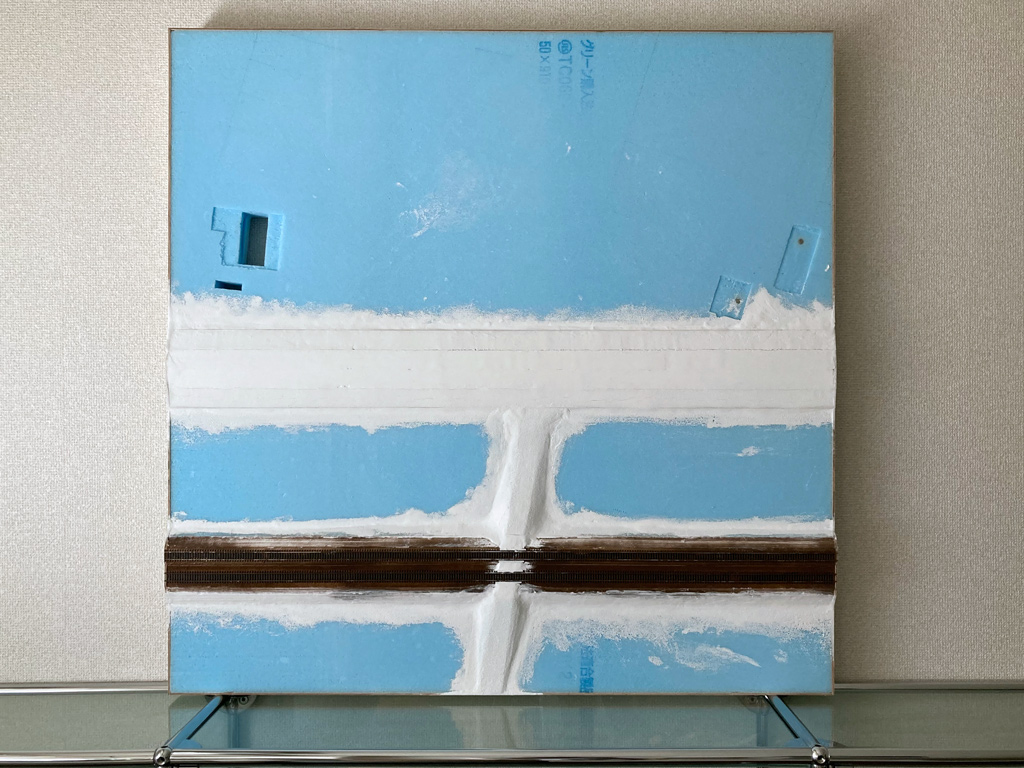
 : highway painted and tracks ballast applied
After the ballast was secured, I airbrush painted Tamiya XF-68 NATO Brown acrylic paint to the rail as rust. I drew disappearing pavement markings using white and yellow colored pencils.
2024-04-19 09:00
コメント(0)
Surfaces, Revisited [Column_Photo Archives]
I have introduced a series of my dad’s photos taken in the United States in the early 70s as the “Surfaces” posts. Up next are the series of my photos taken during our recent trips to the United States. Our trips more or less trace the route my dad mapped half a century ago. Accordingly, I have decided to call this series of posts “Surfaces, Revisited”.
 : Sep. 10, 2017. Thompson Springs, UT
 : Sep. 10, 2017. Thompson Springs, UT
2024-04-12 09:00
コメント(0)
Making Cisco Townsite, part 4 [Works_Cisco Townsite]
 : crushed rocks applied
The filed and gesso-coated surface of the terrain needs some texture to represent the Cisco Desert. So, I applied crushed rocks on the shoulder of the highway and on the base of the railroad embankment. The material used for the crushed rocks is #24-330 Fine Ballast produced by Woodland Scenics (=Kato Fine Ballast). First, I sprayed the water with detergent, next, I sprinkled the thinned PVA bond(white bond), and finally, I added the crushed rocks like adding salt to your steak. I repeated it two times to revise and secure the texture.
Finally, I coated the diorama with acrylic gesso, modeling paste, and acrylic paint mixture to secure the surface of the diorama. This coat of paint becomes the basis of the terrain, So, I added Liquitex Unbleached Titanium and a little Ivory Black to the mixture to make it look accurate.
 : applied crushed rocks
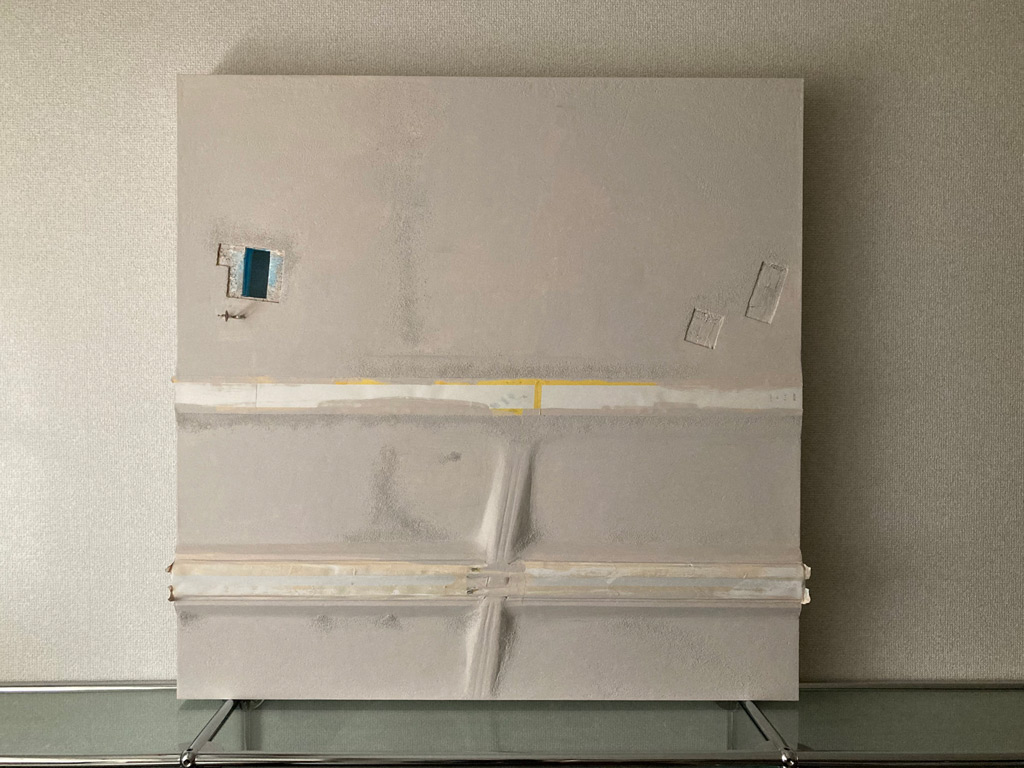 : finished basis of terrain
2024-04-05 09:00
コメント(0)
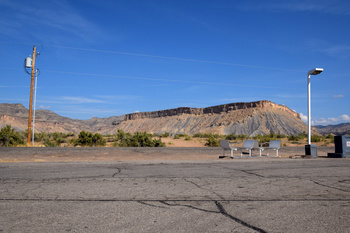
Surfaces, Revisited [Column_Photo Archives]
I have introduced a series of my dad’s photos taken in the United States in the early 70s as the “Surfaces” posts. Up next are the series of my photos taken during our recent trips to the United States. Our trips more or less trace the route my dad mapped half a century ago. Accordingly, I have decided to call this series of posts “Surfaces, Revisited”.
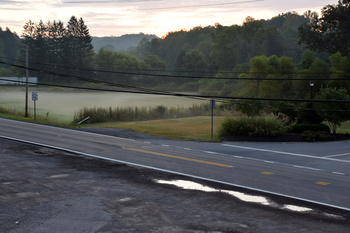 : Sep. 9, 2019. Fayetteville, WV
 : Sep. 9, 2019. Fayetteville, WV
2024-03-29 09:00
コメント(0)
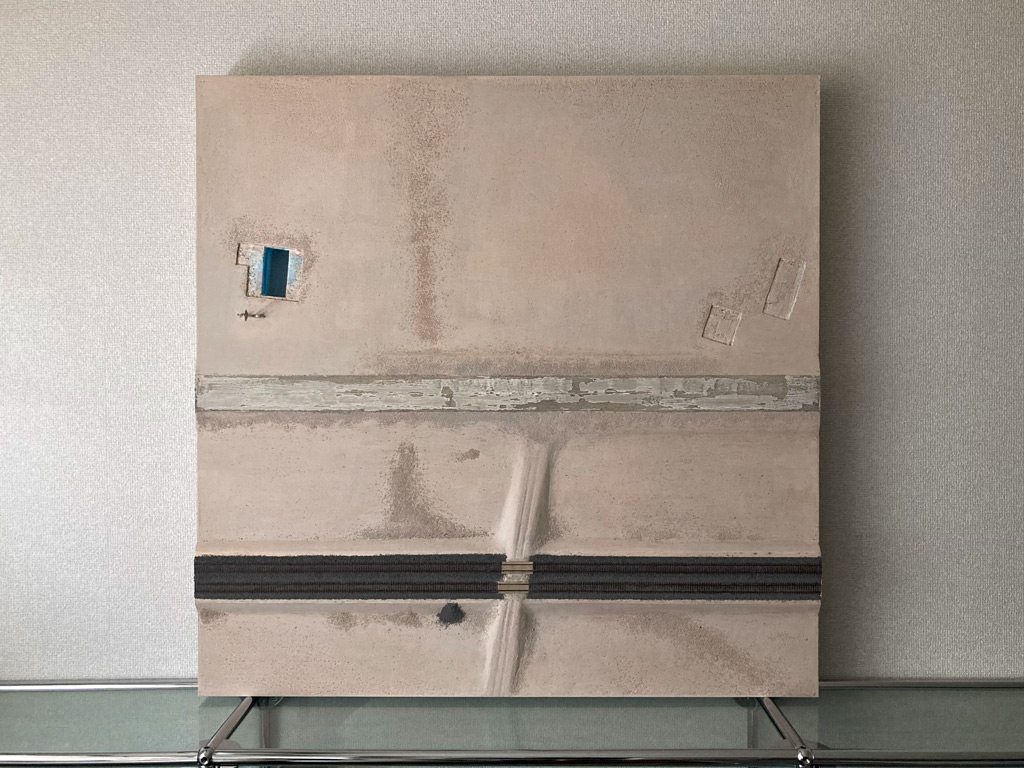
Making Cisco Townsite, part 3 [Works_Cisco Townsite]
 : filling the gap with clay
A dirt road connecting Pennsylvania Street with the Cisco Oil Field north of the town used to cross the railroad until the 70s. I added the fills for the road and filled the gap between the terrain and the fills with paper clay.
Next, I applied a layer of thin paper clay to the overall surface of the insulation board slightly filed by sandpaper to represent the accurate grade and terrain. I mixed the clay, water, and PVA bond(white bond) to prevent the thin layer of clay from cracking. After the clay was dried, I filed its surface to make it smooth. Fortunately, the insulation board didn’t warp after all these clay works.
As the layer of clay work is thin, the surface of the diorama is still so soft that even a touch of finger leaves a mark. So, I coated the surface of the clay work with acrylic gesso and modeling-paste mixture to make it hard.
I repeated the clay-filing-gesso process several times. I added different colors to the gesso each time to make it easy to recognize each coat.
 : first layer of clay applied
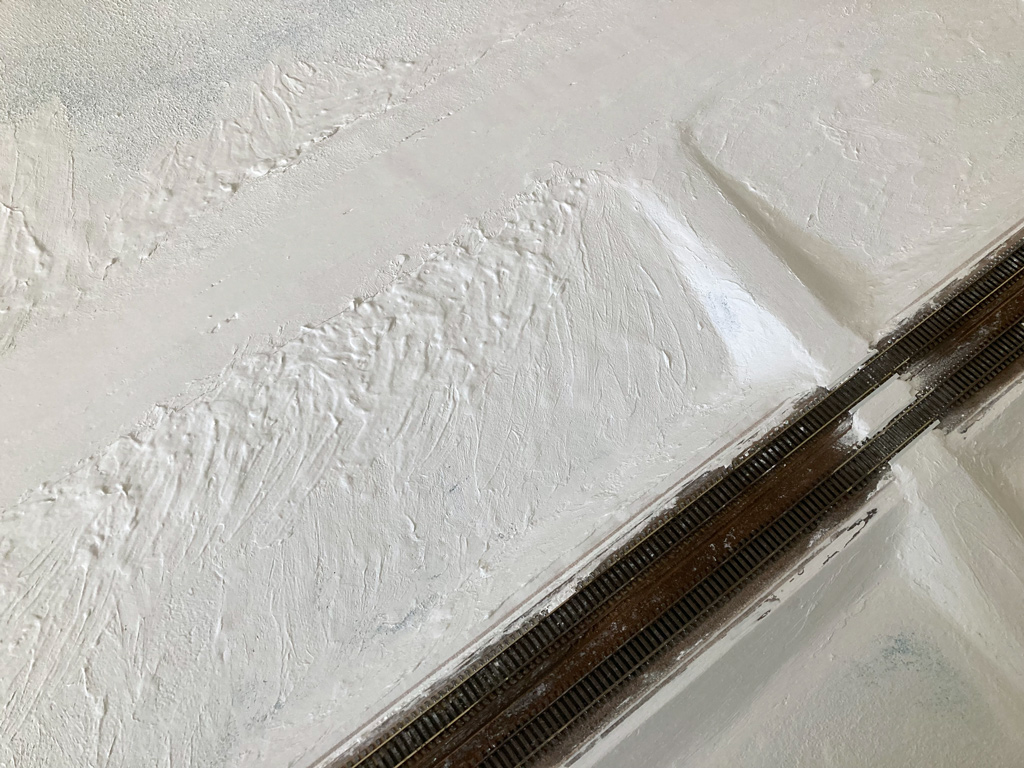 : applied clay before filing
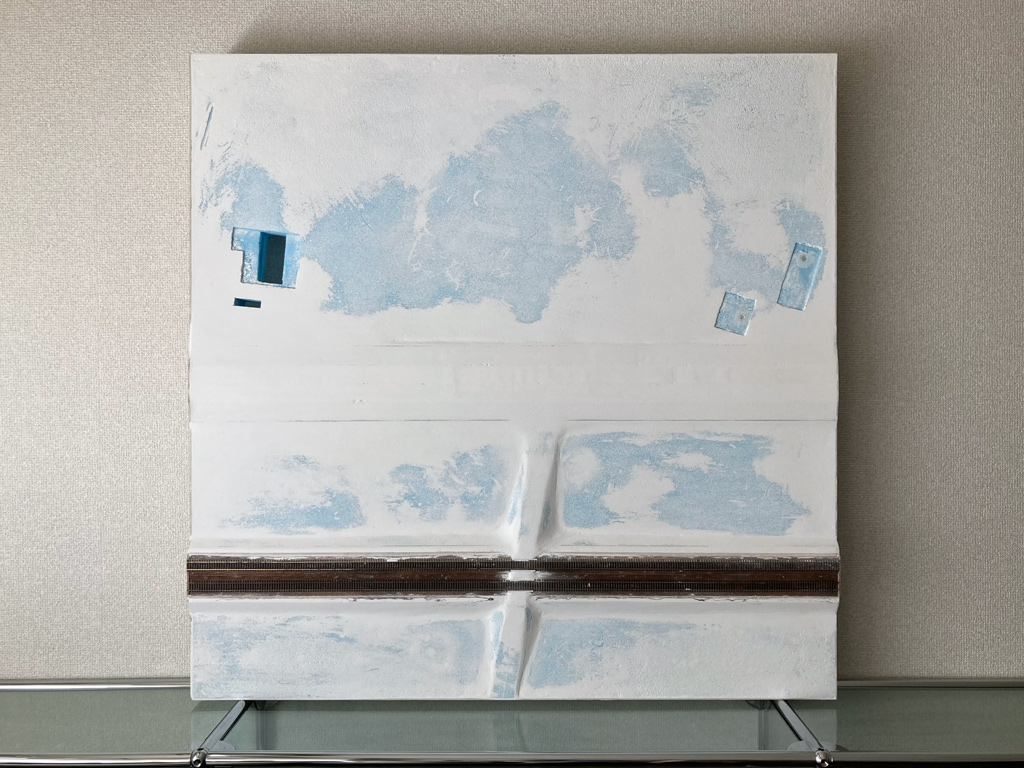 : finished clay work
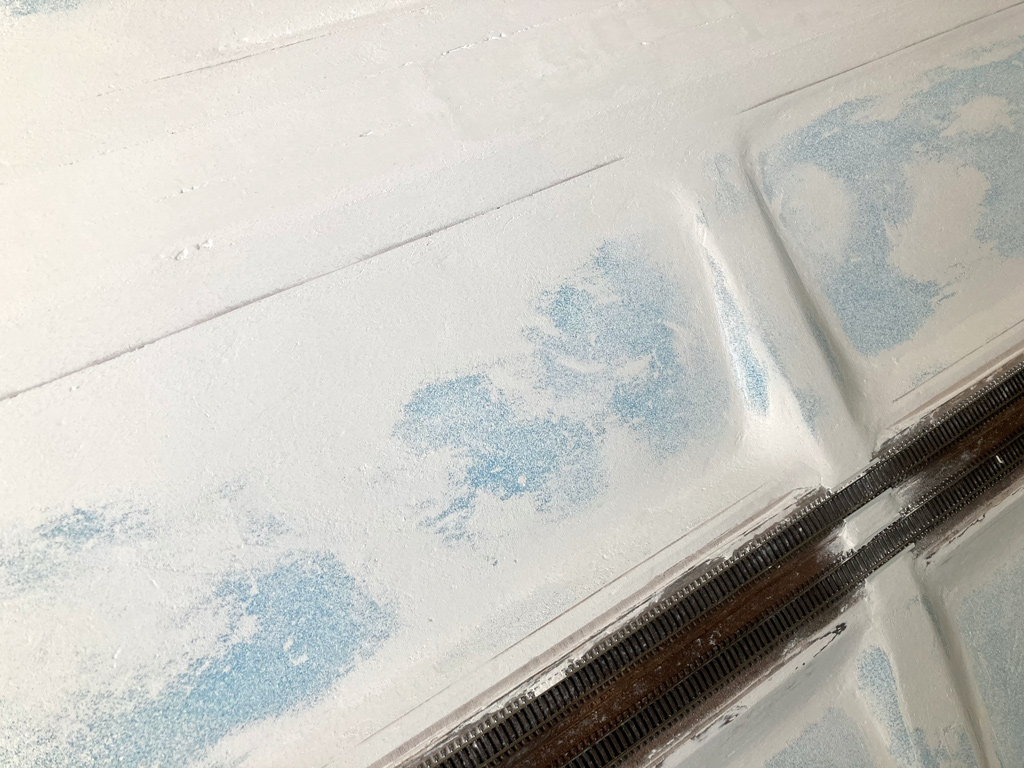 : filed clay
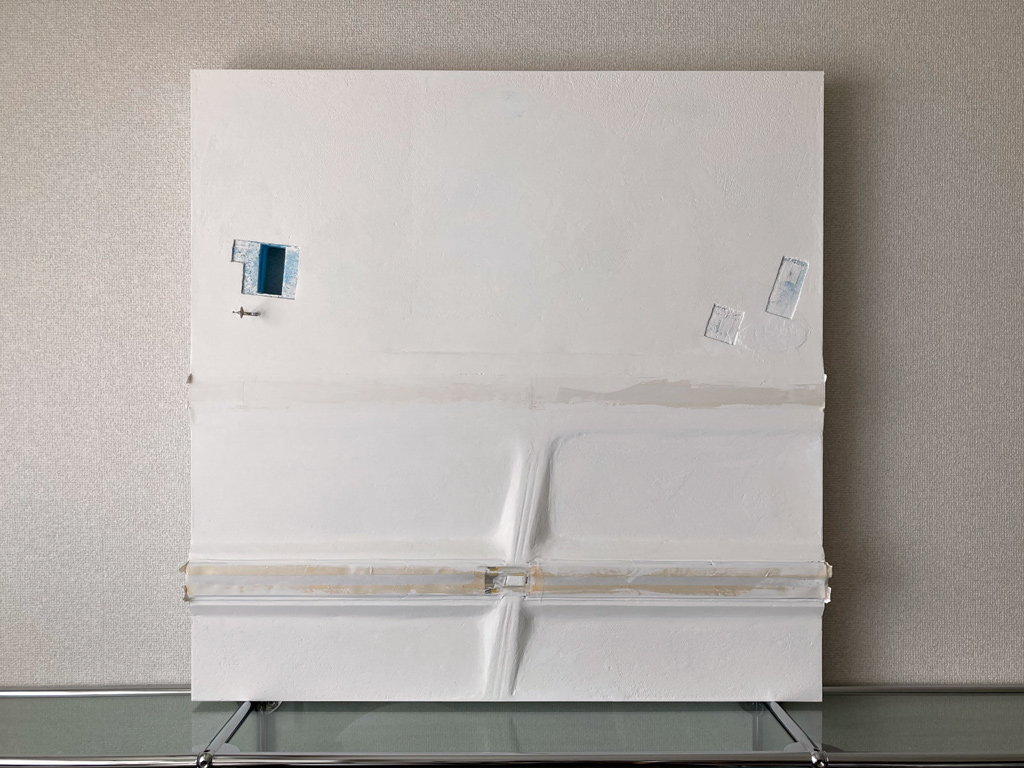 : gesso coating
2024-03-22 09:00
コメント(0)
前の6件 | -
arx_Ph.D. さん

Here represented are my model railroad enthusiasm generated from the photos I took during my childhood at Knoxville, Tennessee, or from the photos I took during my recent trips.
I'm a retired professor of design, meanwhile a part-time associate at the architectural design office in Osaka, Japan where I live with my wife.


